Contents
How To Draw Anime And Manga Hair – Woman
Draw Anime And Manga Hair – Woman – This tutorial shows you how to draw anime and manga hairstyles with twelve step-by-step drawings of typical anime haircuts for a female character.
Hair Design Anime and Manga
Anime hairstyles are usually based on natural hair but are often drawn into pieces rather than individual strands. One good reason for this is that if you draw many cartoon frames or many manga panels, it will simply take a lot of time to remove anything very detailed.
An excellent way to draw anime hair is to divide it into several parts: front, sides, and back/top (as shown with each head below).
Drawing Long Anime Hair
Long straight hair is probably one of the most common hairstyles in anime and is easy to style.
Above, you can see the Breakdown of the Example of a Long Hair Drawing Into:
- Red – Front Hair
- Green – Side Hair
- Blue – Back / Top Hair
You can use the same split in drawing some hair extensions too. This way, thinking of hair can make the painting process much easier to manage.
With this in mind, we can move on to the actual drawing process.
Step 1
Make hair/haircut easier so you can erase parts of it later. Start by doing a head painting first and a hair guide. Although the hairline is not so important as it is full of covered hair in this particular style, it can still help you determine the perfect length and total length of the front and side sections of hair.
Step 2
Draw the hair on the top of the head and the hairline as in the example above.
With this hairstyle, where the front part of the hair is cut short, you can style it into small sharp pieces.
Make the “side hairs” long enough for their slightly curved shape. You can also divide it into a few small lumps along the edges.
Draw the upper part o “back hair” very well by following the shape of the head (a short distance from it) and extending until it is finally hidden behind the shoulders.
Step 3
Wipe the hidden parts of the head and hair and add a few lines to show the inner curling of the front and back hair. You will usually want to place these strands between the hair strands as this is where these will usually form in natural hair.
Step 4
Next, add another wrap to the “back hair” to give more detail of their shape so that it doesn’t look just like a flat cut.
You can also add basic shading to make the hair stand out once you have finished the line drawing.
Drawing Short Anime Hairstyles
The example of the short haircut above is very similar to the long haircuts that fall into three essential parts on the front, sides, and back.
Step 1
Repeat the drawing of short hair on the head and hair. As with the previous example, the hairline will not be as important here as other hairstyles, but it can still be helpful.
Step 2
You can paint it like the first example if you want beautiful hair. However, also very similar to long hair, draw a section of “front hair” with a collection of small clumps. The hair will be much worse in this case, so that the chunks will bend differently.
Step 3
The same as before wiping any part of the scalp hidden hair and drawing the lower part of the back hair. It is usually a good idea to leave this section of hair on the last part of the line drawing, as in the preview of the head; it will be in the background behind most of the hair sections. If you try and paint it yourself first with some hair to arrange the “outline” of its location, you will probably end up with dashed lines, and you have to do more erasing.
Step 4
Add internal folders (just one in this example) and, if you like, a basic search.
Drawing Anime Haircut (Hime Cut)
With a haircut, draw a bunch of hair with flat ends that look like a razor has cut them.
To look good, the different hair follicles should usually be drawn pointing in the same direction with the clumps next to them, and any change of law should be gradual.
Anime Hime Hair Drawing Step by Step Drawing
Step 1
Start by drawing the hair and show the hairline. In “Hime Cut,” the hair will also be covered with hair.
Step 2
With the first natural hair drawing, you can start with the sides, followed by the back. You can show the front part of the hair in just one line.
Step 3
Now draw small sections of hair on the front and sides to make them look natural. Clear the line between breaks when you’re done. You can also wipe any part of the head covered with hair.
Step 4
Finally, and similar to the first example, add some lines to the hair on the back to show the various inner curls. Try and draw these with random space and slightly different curves. If you put everything in balance and make all the curves very close together, the hair will not look natural.
Drawing Dirty Long Anime Hair
Long dirty hair is almost the same as the original model but has more follicles. And it can be divided into three parts as all other examples so far.
Step 1
As some examples begin by painting the head and hair. Hairstyling will help you ensure that there is no distinction between “hair extensions” that go too far.
Step 2
To make the hair look dirty, draw front strands facing different sides and different shapes and curves. You can remove some wavy, and some will turn in one direction.
You can do the same with external clumps on the sides of the front section. Draw the middle part of these lumps to the very bottom. This will also give you an additional view of unruly hair.
Step 3
Now draw some random extra hair strands from the back parts of the hair. This will make the beautiful looking back hair look dirty again. You can also add a pair (or more) clumps to the inner parts of the “side hair.” You can delete the hair frame where you want to draw it or add and delete the scattered structure later. Next, you can add the lines separated between the same hair extensions and other examples. Complete the line drawing and wipe the face and head parts covered with hair later.
Step 4
Since this model also has long back hair, you can draw on some of the inner bars to make that section look like natural hair. You can also make them a little more wavy than other models to make the hair look dirty.
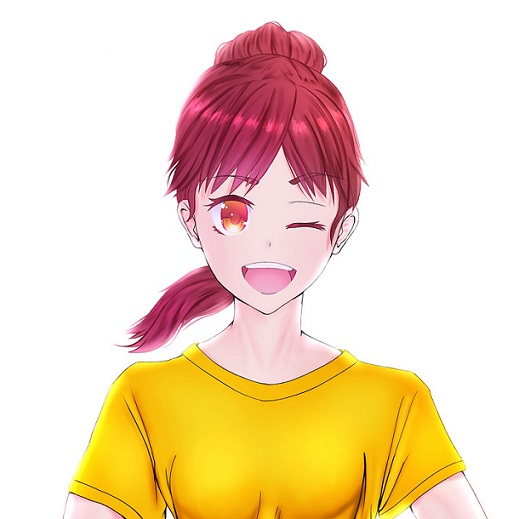
Drawing Anime Pony Tail / Hair Tie Back
Another common anime theme is the ponytail. You will notice that there are no side hairs in this example (except for small hairline pieces on the sides). Therefore the hair may be divided into front and back sections—the back covering the hair over the head and tail of the pony.
Step 1
Draw a headband and show the hairline that is more important with this hairstyle than the previous examples, as some of them will appear in the last drawing as already shown.
Step 2
You can very well add the front hair of this hair in just three turns—two on the sides and below. As mentioned, there are tiny side hairs in this example as the hair pulled back exposes parts of the hairline.
Draw the back hair just a little above the head to meet the sides.
You can draw a ponytail by the type of question, such as shape. Although ponytails are usually straight back with anime hair, you can remove them slightly on one side to make its profile more visible. You can also add a small split at the end. Otherwise, the ponytail may look like a sack enclosed with a drawstring.
Step 3
Similar to the “Hime Cut,” drawing on some small sections on the front part of the hair and erasing the lower amount of the “front hair” to create gaps between them. Also, wipe the hidden parts of the head and hair.
Step 4
You can also give the hair a bright glow if you like. You can also customize a few extra lines in the hair to make it look a little different than the “Hime Cut,” which usually has very thick “front hair.”
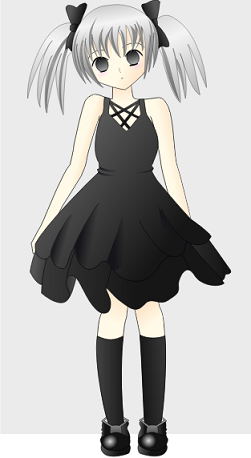
Drawing Anime Hair More Than One Eye
To get hair with hair over one eye, you can also divide the hair into front, sides, and back. With this style, the front part of the hair will be much more significant and will adhere to the “side hair” near the covered eye.
Step 1
Draw the head and hairline in the same way as the other examples.
Step 2
With this hairstyle, draw the front strands long enough under the face to completely cover one eye. For “extra hair,” you can remove a section on the side of the covered eye to somehow protect the front hair.
Draw the different back hairs into two curves which are very attractive for the shape of the head as they come down at the end and come out in pieces on each side.
Step 3
In the lower part of the front hair, draw a few small clumps that appear around the top of the neck area. Wipe off any loose lines on the head that should be hidden in the hair when you are done.
Step 4
To wrap the drawing, you can also add a few lines to show the separation and curling of the hairs from between the hair strands.
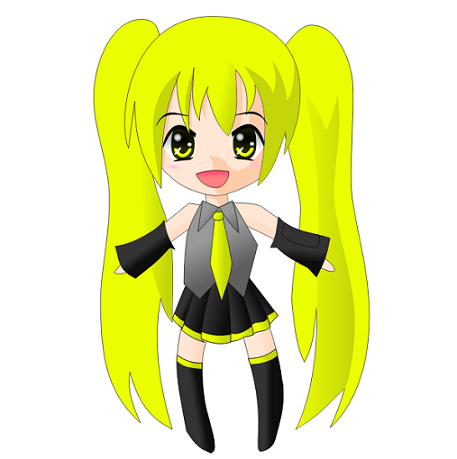
Drawing Anime Pigtails
Pigtails are one of the most common styles of anime hair. Like the ponytail pattern, you can see that this particular pattern may be broken on the front and back parts of the hair. With “back hair” divided into head and pig hair. There are only natural “side hair” pieces.
Step 1
Draw the head and hairline. In this example, a large portion of the hair will be visible in the final drawing. It will also help us to set the front part of the hair.
Step 2
Although most of the hair in this example will be pulled back, you can draw clumps on the front part of the hair on one side to make the hair look a little more interesting.
As already mentioned, there will be no side hair except for small pieces around the top of the ears. Draw the upper/back part of the hair that connects to that side hair.
In natural pigtails, draw them like the “Ponytail” pattern, which is almost the same as the marks of two questions in their overall form and one that is avoided.
Step 3
Now add random hair strands from pigtails to make them look more exciting and straightforward any loose lines created. Also, wipe the scalp where the hair hides it.
Step 4
Add a few lines to show some wrap in pigtails and optional shading.
Drawing Well-Anime Anime Hair
This hairstyle can be further divided into three sections front, side, and back hair. However, the front part of the hair is slightly different from the previous models.
Step 1
Draw the head and hairline. The hairline in this example will be especially helpful in setting the front part of the hair.
Step 2
Paint the side parts of the hair with a non-abrasive treatment and embrace the shape of the face. About the middle of the hairline, draw two curves that go down to the “side hair.”
This will be the “front hair” placed under the sides that will be combed down on top of it. Draw the back hair with a clear split in the middle with two curves going to each side. This will help show that the hair has been neatly combed on each side.
Step 3
Add small strands of lower back hair.
Step 4
Finally, you can add a lot of hair hanging down from the middle of the front part of the hair. Sometimes, the hair in that area will be short enough to be placed under the sides, and their roles can hang down. Finally, add some lines to the front of the hair to the sides to help show that the hair is placed under there. This will make the hair look natural and exciting.
Curly Anime Hairstyles
Curly hair is probably the most challenging anime haircut to draw. This hairstyle can also be split into the front and back sides of the front hair, similar to the previous model.
Step 1
Start drawing a drawing of the head and hair.
Step 2
On the hairline, draw two lines to the sides of the head to show the front hair. You can remove these lines with light waves to show curly hair.
The side hairs in this example will be completely curled. You can first draw some lines at the base of the curves to show the amount of hair that will change to the type of “threats” below.
Drawing natural curls first draws its front parts. You can think of them as a corner cut and separated.
Step 3
Now wipe any part of the head hidden hair to avoid confusion and add back lines of hair curls. You can think of this as the front legs are complete.
Finally, you can draw some parting at the end of each curl.
Step 4
In the last step, you can draw a tiny squiggle of hair hanging down from the middle of the front section and add some lines under the back hair to show the inner curl. Make these lines wavy than the previous examples to show curly hair.
Drawing Anime Hairstyles
Hairstyles are an unusual but popular style of anime hairstyles. This style can also be divided into front, side, and back hair.
Step 1
Repeat the painting on the head and hair.
Step 2
Draw “front hairs” into small bumps that point in the middle of the face and sides, as well as many other examples.
Draw “extra hair” with slightly curved “hug” faces.
Make “back hair” a great curve around the shape of the head.
Finally, draw real hair clips with a specific oval shape, each half-hidden behind the “back hair.”
Step 3
In this step, erase the hidden parts of the head and hair
Step 4
Draw some curves inside the hairband. You can draw this randomly but try and follow the outer curve of the banner at least a few lines. This will help create the kind of “ball-shaped” look that a hairdresser often has.
Drawing Dirty Short Hair Anime
Short dirty hair is manageable and can be divided into front, side, and back sections.
Step 1
Like other examples, they paint the head and hair, to begin with.
Step 2
Draw the front part of the hair with outer strands attached to the sides instead of sitting on the forehead like many other examples.
Add side sections with shortcuts from the opposite areas.
Draw the back hair slightly apart on one side, and the two curves that come out of it eventually turn into hair follicles on each side of the head.
Step 3
Now add a pair of wavy clumps to the top partition by the back hair and another piece of clusters on the inside of the “side hairs.” Wipe sections of hair where you can add clumps and wipe any parts of the head / facial lines covered with hair.
Step 4
Add the lower part of the back hair drawing to the smaller clumps similar to other short hair examples in this tutorial.
Drawing Pigtails for Short/Low Anime
For the final example of anime hair in this tutorial, we have short/low pigtails. Like many other examples in this study, these can also be divided into sides, front and back / top hair.
Step 1
Start by drawing the head and hair like all the other examples.
Step 2
Apply the front part of the hair first, as in this example; it will protrude slightly from the sides beyond the lateral sections. Draw the “front hair divided into smaller pieces and do the same at the end of the“ side hair.”
Make the “back hair” look great by following the shape of the head.
Finally, add the pigtails under the head with slight separation at its end.
Step 3
Clean the painting by wiping the hidden parts of the head and hair.
Step 4
Add some lines to show the heads of the inner curves and folds. In this case, only one clump of the front hair.
Bright Hair
The best hair extensions can make the hair stand out even without the extra complexity and are easy to add.
Conclusion
When painting hair, it can be beneficial to arrange it into separate sections. This will help you master the hairstyle style and allow you to change the hairstyle by changing its various components quickly.
A very unique point of view, I haven’t read such an indepth post in a long time, I’ve shared it with my group friends on Facebook. Please write more like minded posts so I can recommend to my friends!